

Before the Concrete Pours: The Ultimate Barndominium Dirt Work and Site Prep Guide
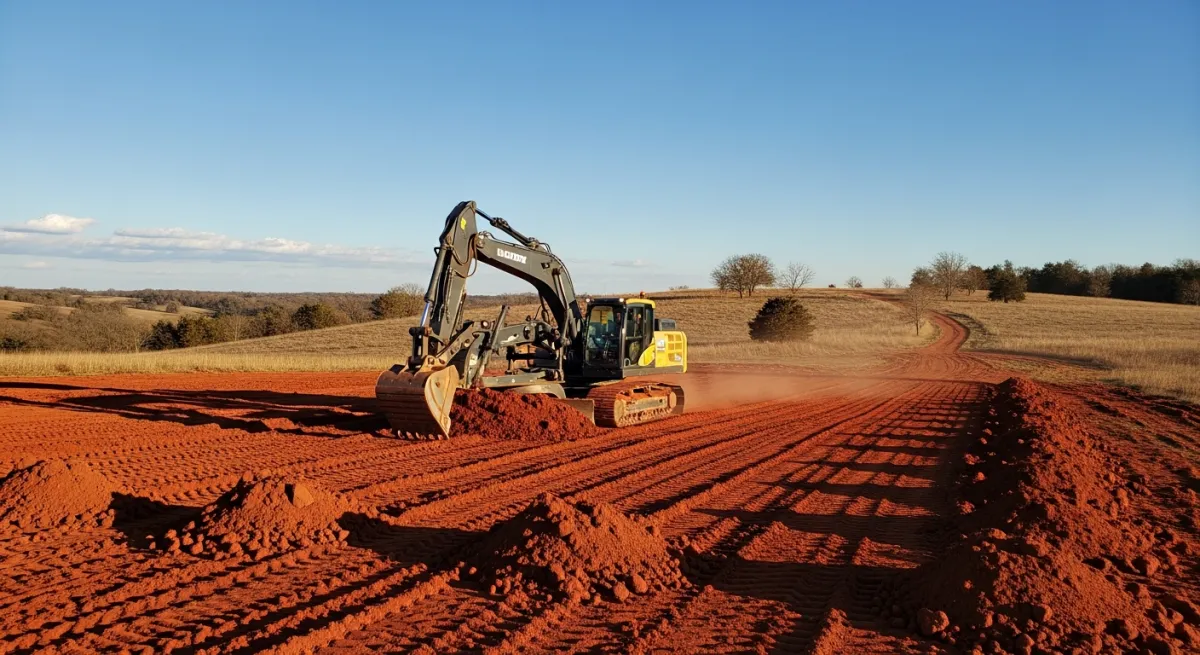
“People obsess over the shell package cost and forget that the land itself needs to be prepared. I've seen $200,000 barndominiums sitting in drainage problems that could have been solved for $3,000 during site prep. The work that happens before the concrete is the most important work on the job.”
John Piazza Norton — Founder, DreamStart Building Company
Bottom Line Upfront
Site prep runs $8,000–$25,000 and takes 1–3 weeks. Drainage is the highest-stakes decision — water that can't get away from the building causes chronic foundation problems. Minimum grading slope: 6 inches over 10 feet from the building. Get a soil test before finalizing your slab design. Plumbing stubs and electrical sleeves go in before the pour — no second chances.
Site prep is consistently the most underestimated phase of a barndominium build. It rarely gets discussed in the same breath as shell packages and floor plans — but decisions made (or not made) in this phase directly determine how the building performs for the next 50 years.
The Five Phases of Site Prep
Site Assessment
- Survey and stake building corners
- Identify drainage patterns and high water marks
- Note existing trees, utilities, access
- Soil probe test for bearing capacity
Clearing & Demolition
- Tree removal and stump grinding
- Remove existing structures if any
- Clear building pad plus 20-ft perimeter
- Establish equipment access route
Rough Grading
- Establish building pad elevation
- Rough drainage slope away from building
- Import fill if needed to raise pad
- Set elevation benchmarks for concrete crew
Subgrade Prep
- Compact native subgrade
- Install drainage tile if needed
- 4–6" compacted gravel base
- Vapor barrier installation
Utility Rough-In
- Plumbing stubs through slab location
- Electrical conduit sleeves under slab
- Propane or gas line stubs
- Well casing protection if applicable
The Drainage Problem (Most Common Site Failure)
More barndominium site problems trace back to drainage than any other single factor. Rural Missouri sites often have gentle topography that looks adequate but doesn't drain fast enough during heavy rain events. The risk: water ponds against the foundation, saturates the subgrade, and works into any gap in the slab perimeter.
Drainage Warning Signs
- Site is in a low area or bowl shape
- Adjacent land drains toward the building site
- Heavy clay soil (slow permeability)
- Seasonal high water table (check with local extension office)
- No natural swale or outlet for surface water
Drainage Solutions
- Raise building pad elevation with imported fill
- Install perimeter French drain before slab
- Grade 6" drop over first 10 feet from building
- Create positive drainage swale to outlet
- Concrete apron around perimeter directs water away
What You Can't Change After the Pour
The concrete slab is permanent. Before it's poured, you need to finalize:
Plumbing stub locations
Every bathroom, kitchen drain, laundry, and floor drain location must be marked and installed. Moving them later means saw-cutting the slab.
Electrical conduit sleeves
Sub-panel feeds, exterior outlet conduits, and any under-slab conduit runs must go in before the pour.
Radiant heat tubing
If you're doing in-floor PEX radiant heat, the tubing and manifold connections must be pressure-tested and installed before the pour.
Anchor bolt pattern
The SIP shell anchor bolts (J-bolts or Simpson anchors) are set in wet concrete to exact specification from the shell engineering drawings.
Slab thickness and rebar
Standard barndominium slab is 4 inches with wire mesh or rebar. Heavy equipment shops need 6-inch minimum with rebar.
Related Reading
Why We Don't Build Basements
The case for slab-on-grade in Missouri — and why basements create more problems than they solve.
Radiant Floor Heat in a Barndominium
If you're considering in-floor heat, this needs to be planned before the slab pour.
How It Works
DreamStart's pre-construction process from site-readiness guidance through written handoff to your local builder.
Shell to Move-In: The Full Owner-Builder Roadmap
Every phase from shell delivery to move-in day — trades, sequencing, and decisions in order.
Common Questions
How much does barndominium site prep cost?
Site prep for a barndominium in Missouri typically runs $8,000–$25,000 depending on existing conditions. Simple flat sites with good soil may come in under $10,000. Sites with significant slope, poor drainage, tree removal, or rock may run $20,000–$35,000 or more. The wide range reflects how variable rural sites are — always get a site assessment before budgeting.
How do you prep land for a barndominium foundation?
Land preparation for a barndominium slab includes: (1) clearing trees and brush from the building pad area plus access, (2) rough grading to establish the building pad elevation and drainage slope, (3) soil testing for bearing capacity, (4) subgrade compaction to achieve required density, (5) gravel base (4–6 inches of compacted crushed stone), (6) vapor barrier installation, (7) perimeter drainage if needed. The concrete pour follows after these steps are completed and inspected.
What slope does a barndominium site need for drainage?
The minimum positive drainage slope away from the building is 6 inches of drop over the first 10 feet from the foundation perimeter. This is the IRC standard and it's a minimum, not a target. Steeper is better. The goal is ensuring surface water never ponds against the building. On flat sites, achieving this often requires importing fill to raise the building pad above surrounding grade.
Do I need a soil test before building a barndominium?
A basic soil bearing test is strongly recommended and relatively inexpensive ($300–800 for a standard probe test). Missouri soils vary significantly — expansive clay soils in some areas, rocky ground in the Ozarks, and soft alluvial soils near rivers all require different slab designs. If your soils aren't suitable for a standard 4-inch slab, catching this before the pour saves tens of thousands in slab repair or replacement.
About DreamStart
We used to build barndominiums and homestead shells with our own hands — and that experience is exactly what taught us where the real value lies: in getting the design right, planning the build carefully, and working successfully alongside local builders hired by owners. That hands-on experience helps us prepare clearer planning and handoff materials, but it does not make DreamStart the party choosing your contractor. DreamStart now operates as a pre-construction planner and design advisor — not a builder, general contractor, installer, or construction manager. We produce your custom drawings and documentation, coordinate engineering only when your county or lender requires it, and guide site-readiness and logistics. DreamStart designs the plans, organizes the steps, and gets the EPS panels ordered and delivered at the quoted package pricing for your local builder to set. We do not self-perform or include general-contractor labor, excavation, foundations, shell erection, utilities, or finish-out — that work is performed by your local builder and trades you retain, contract, and pay directly. We help you find a general contractor and hold a three-way interview, then hand off a clear written plan. DreamStart does not perform or manage field construction; each owner independently selects, contracts, pays and schedules their contractors. Verify the GC's qualifications, insurance, permit requirements, and lender requirements with the appropriate local authorities and your lender.
Take the Next Step
Ready to Price Your Homestead Shell?
DreamStart designs the plans, organizes the steps, and gets the EPS panels ordered and delivered at the quoted package pricing for the local builder you hire to set. Your GC handles construction. Get your custom estimate free, no obligation.