

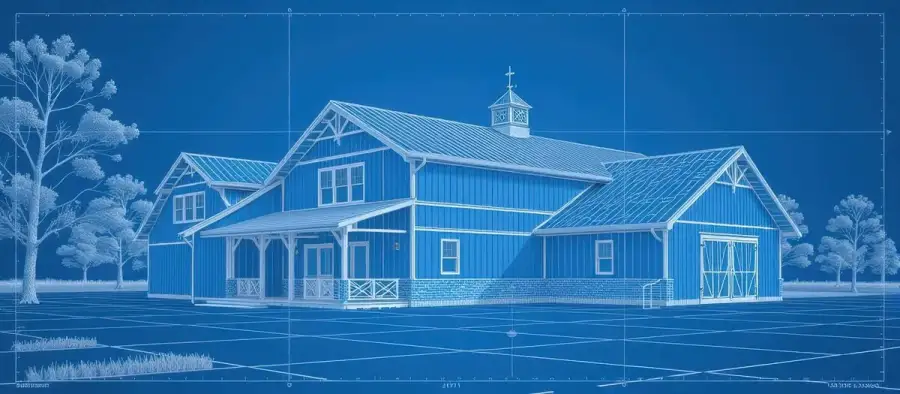
Shell to Move-In
Your complete roadmap through 5 stages —
from the day the panels arrive to the day you move in.
Know exactly what DreamStart handles, what you arrange, what it costs, and how long each stage takes — before you sign anything.
DreamStart designs your Homestead Shell, prepares the custom drawings and permit/lender documentation, provides EPS panel pricing documentation, and delivers a site & logistics readiness and handoff package. You select, contract, and pay your own local builder to erect the shell — walls, roof, rough openings, and weather-tight sealing. The GC secures EPS panels directly from EPS at DreamStart's quoted pricing. The interior build-out is yours to manage as well: mechanicals, drywall, flooring, fixtures. This division of responsibility is the key to owner-builder savings. The five stages below map exactly where DreamStart's role ends and yours begins — with realistic timelines and cost ranges at every step.
The 5 Stages
Each stage shows the typical timeline, realistic cost range, what DreamStart handles, and what you arrange.
Site Preparation
Getting the land ready to receive your shell
- Provide site requirements checklist (access, clearing, grade tolerances)
- Review your foundation plan against your chosen shell design
- Confirm required clearances for delivery truck access and panel staging area
- Supply engineered foundation drawings (delivered with design agreement)
- Clear and grade the building site to within 3/8" level tolerance
- Pour the concrete slab or stem wall foundation
- Install sill plate and anchor bolts per engineered drawings
- Arrange driveway access capable of handling a semi-truck
- Confirm septic/well permits with county health department
Shell Assembly
the local builder you hire erects your weathertight envelope
- Your GC secures factory-cut SIP panels directly from EPS at DreamStart's quoted pricing — shipped from Graettinger, Iowa to your site
- Provide site & logistics readiness documentation covering delivery, panel unloading, and staging
- Provide the assembly drawings your GC uses to erect SIP wall and roof panels and all ridge/hip details
- Document rough-opening framing (doors, windows, garage doors) in the handoff package
- Document top plates, structural headers, and connection details in the handoff package
- Specify SIP-rated adhesive and expanding foam for all panel joints
- Specify metal roofing and siding (standard) or standing seam roof (optional) per your design — erected by the local builder you hire
- Select, contract, and pay your own local builder to erect the shell
- Ensure site is clear and ready on delivery day
- Arrange site access for the delivery truck and any telehandler your GC requires
- Be present or have a designee on site throughout assembly
Mechanical Rough-In
HVAC, electrical, and plumbing before walls are closed
- Provide SIP-specific rough-in guidance (chase locations, foam-safe products)
- Supply panel layout drawings showing interior panel faces
- Answer technical questions on penetration sealing requirements
- Hire licensed HVAC contractor familiar with SIP construction
- Hire licensed electrician — brief them on SIP wiring chase methods
- Hire licensed plumber for supply and drain rough-in
- Schedule inspections with county (if required) at rough-in stage
- Install mini-split or ducted HVAC system (ductless recommended for SIP homes)
- Rough in all electrical circuits, panels, and service entrance
- Rough in water supply, drain-waste-vent, and any radiant floor heat
Interior Finishes
Drywall, flooring, cabinetry, fixtures — your personal touch
- No ongoing role — this is entirely owner-managed
- Available for questions about SIP interior surface preparation
- Install drywall (1/2" on SIP interior faces — no furring required)
- Prime and paint all interior surfaces
- Install flooring (concrete stain, LVP, tile, hardwood)
- Install kitchen and bath cabinetry and countertops
- Install all plumbing fixtures (sinks, toilets, shower, tubs)
- Install all electrical fixtures (lights, switches, outlets, appliances)
- Install interior doors and trim
- Install insulation in any 2×4 partition walls (SIP exterior walls need none)
- Phase this work over time if budget requires — the shell keeps you weathertight throughout
Certificate of Occupancy
Final inspections, CO issuance, and move-in
- Provide any engineering documentation requested by county inspector
- Supply EPS Authorized Dealer certification and panel specs if needed
- Schedule final inspections (electrical, plumbing, structural — if required by county)
- Address any inspection punch-list items
- Obtain Certificate of Occupancy from county (if required)
- Set up utility accounts (electric, propane, rural water co-op, etc.)
- Complete final grading and seeding around foundation
- Move in and enjoy your Homestead Shell
Disclaimer: Timelines and cost ranges are estimates only. Actual results vary based on site conditions, finish level, subcontractor availability, and local permit requirements.
Common Questions at Each Stage
Real questions from owner-builders at each stage of the process — answered from existing DreamStart documentation and blog content.
Read the Full Series
Five posts that walk you through the complete owner-builder journey — from first questions to final inspection. Start anywhere, read in order, or jump to the stage you're at right now.
How Long Does It Take to Build a Barndominium in Missouri?
Phase-by-phase build timelines — permits, slab, shell, mechanicals, and finishes. What causes delays and how SIP construction cuts months off the schedule.
How Much Does a Barndominium Cost in Missouri?
Real cost breakdowns by size, phase, and finish level — foundation, SIP shell, mechanicals, and finishes with 2026 Missouri numbers.
Barndominium HVAC Guide: Mini-Splits, Sizing & the ERV You Can't Skip
Why SIP shells need 25–33% less HVAC equipment, how to size it correctly, and the ventilation step most owner-builders miss.
How to Finish the Inside of a Barndominium Shell
The 4-phase interior guide: MEP rough-in, HVAC install, thermal barrier code compliance, and drywall alternatives for SIP panels.
How Long Do Barndominiums Actually Last?
SIP panels tested to 75+ years, indefinite steel framing — what actually fails first, and the simple maintenance schedule that prevents it.
The Sweating Steel Problem: How to Prevent Condensation in Your Barndominium
Why fiberglass batts don't stop metal buildings from sweating — and how SIP panels and spray foam do, with every cold bridge explained.
Ready to Map Out Your Build?
Use our calculator to price your shell, or call John directly to walk through your site, timeline, and options. No pressure, no commitment required.
Timelines and cost ranges are estimates only. Actual results vary based on site conditions, finish level, subcontractor availability, and local permit requirements.
Related Reading
Missouri Owner-Builder Guide
The full 11-chapter guide from permit to move-in, specific to Missouri's code landscape.
Site Preparation Guide
Detailed site prep checklist — grading, access, foundation requirements, and utility staging.
Build Timeline Guide
Week-by-week breakdown of a typical SIP Homestead Shell build from design to move-in.